
Image from S2E4 - 08m46s

View of the hotel from the parking lot.

Image from S2E4 - 13m15s

Slightly different angle.

Image from S2E4 - 13m23s
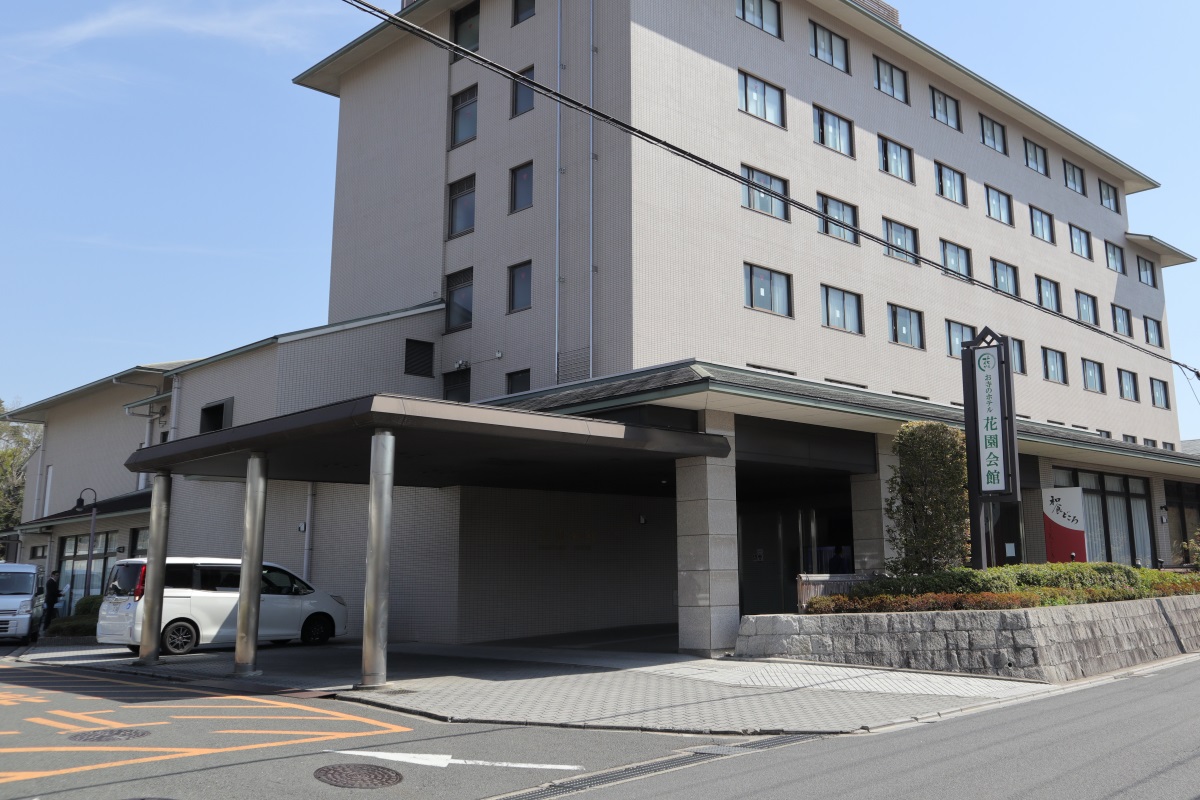
Full view of the hotel.

Image from S2E4 - 13m26s

Sawako giving everybody instructions for independent activity day outside the main entrance.

Image from S2E4 - 18m49s

Another view of the hotel.

Image from S2E4 - 19m15s

Closeup of the corner of the building.

Image from S2E4 - 11m59s

And a closeup of the windows.

Image from S2E4 - 11m57s

I also checked out the lobby where they had this gift shop.

Image from S2E4 - 19m17s

There's no longer vending machines here.

Image from S2E4 - 19m20s

The new location of the vending machines is on the left here.

Image from S2E4 - 19m26s

The exit sign behind Sawako is still in the same location though.
Location map:
This location was visited on 2019/04/18.
Links:
Hanazono Kaikan official website
Special thanks to the ones who went here before:
http://d.hatena.ne.jp/kbas/20120721/p1
No comments:
Post a Comment